
If you are opening DualShot Video Recorder for the first time, the best way to think about it is simple: the app is designed to help you create one recording session that can serve more than one output.
That means the goal is not to make every clip cinematic. The goal is to make your capture process reliable, repeatable, and easy to reuse. If you can get the setup right, the rest of the workflow becomes much smoother.
Step 1: Decide what the video needs to do
Before you touch the phone, decide what kind of result you want from the recording.
Ask yourself:
- Is this a short-form social post?
- Will this video be repurposed for a website or demo later?
- Do I need a vertical-first version, a horizontal-first version, or both?
- Is this a talking-head clip, a demo, a tutorial, or a founder update?
The answer matters because it determines how much framing space you should leave around the subject and which parts of the shot need to stay clean in both compositions.
The most common mistake is starting the recording before the message is defined. That creates wasted takes and makes the final edit harder than it needs to be.
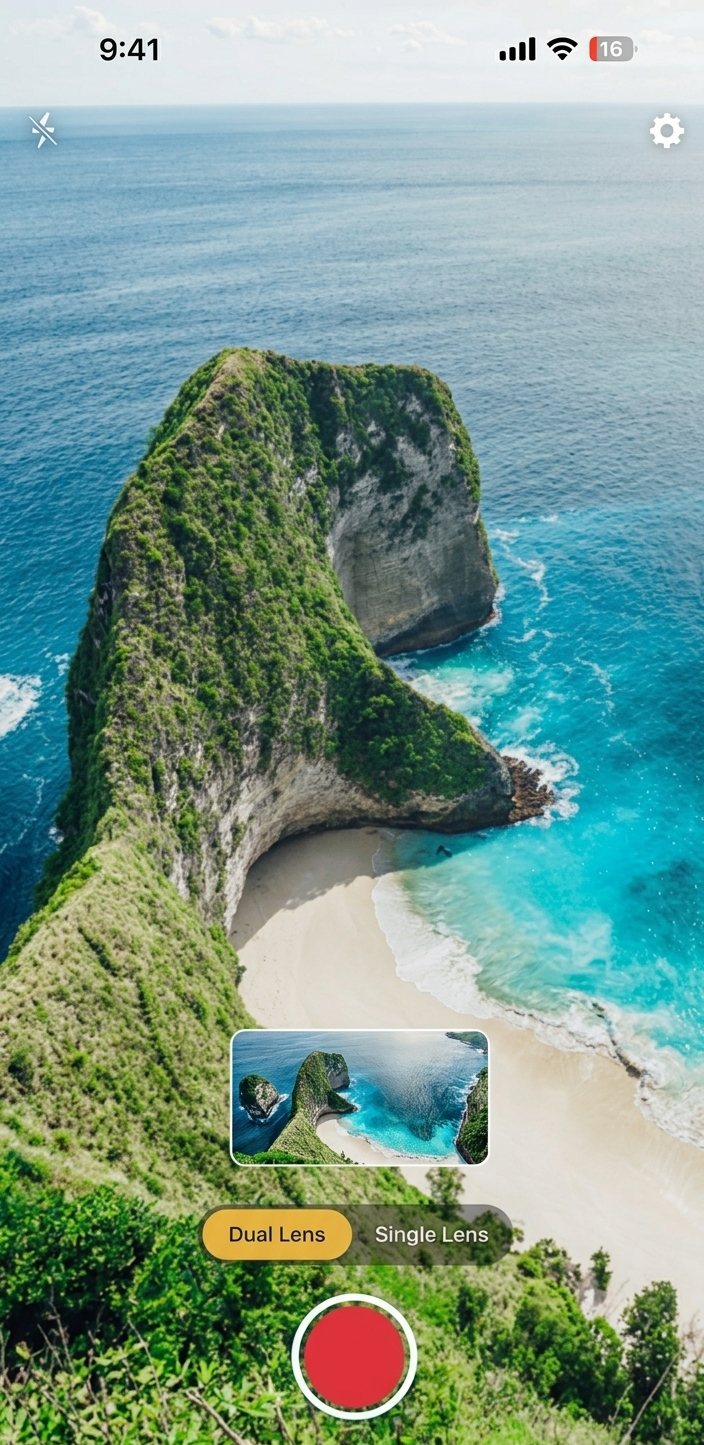
Step 2: Frame for both outputs at once
DualShot works best when you frame with both compositions in mind.
That usually means:
- Keep the subject centered enough to survive a vertical crop.
- Leave space around the head and shoulders.
- Avoid putting critical text or props right at the edges.
- Keep the background simple enough that both outputs still feel clean.
If your subject fills every inch of the frame, one of the outputs usually suffers. You do not need to be overly conservative, but you do need to think about both crops before recording.
For creator teams, this is a useful habit to standardize. Once everyone knows how to frame for dual output, the quality of the whole content pipeline goes up.
Step 3: Set up light and audio before you press record
Most recording problems are not app problems. They are setup problems.
Use this quick checklist:
- Face or key subject toward a consistent light source.
- Avoid harsh shadows or mixed lighting if possible.
- Use a quiet room for voice-led content.
- Stabilize the phone so the shot does not drift.
- Check that the device has enough storage available for the session.
Good setup matters because the app gives you workflow speed, not magical rescue after a bad shot. If the footage itself is weak, no amount of repurposing later will save it.
Step 4: Record one clean take
When you are ready, record the clip as if you only get one chance.
That does not mean you need to be perfect. It means you should aim for a clean, continuous performance that editors can work with.
A few practical tips:
- Pause briefly before you start speaking.
- Leave a beat after key points so cuts are easier.
- Keep gestures within the safe framing area.
- Speak in complete thoughts instead of trying to stitch together fragmented lines later.
The biggest advantage of DualShot is that you are preserving a usable master while avoiding repeated takes. The cleaner the take, the easier it is to reuse.
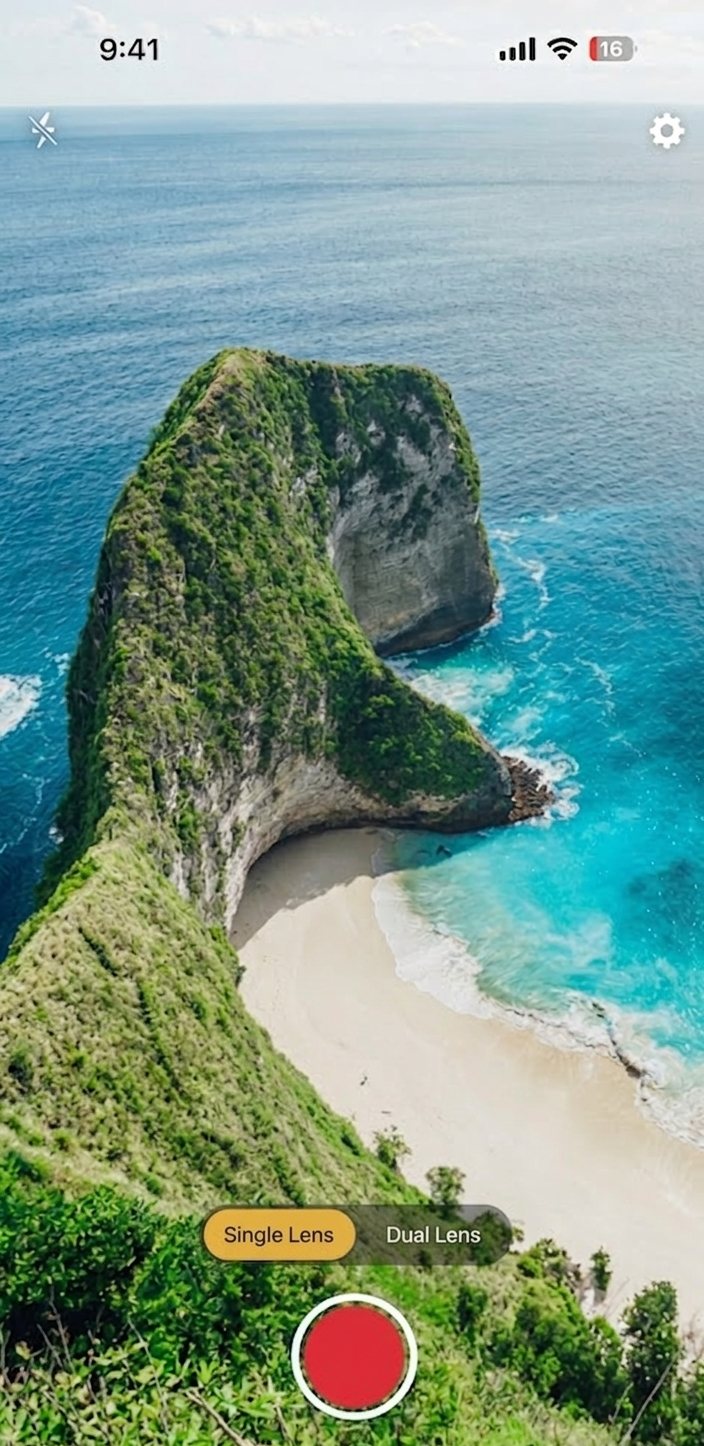
Step 5: Review both versions immediately
After recording, inspect both outputs while the setup is still fresh.
Look for:
- Whether the subject stays comfortably framed.
- Whether either output cuts off important visual information.
- Whether the composition still makes sense with captions or subtitles added.
- Whether the recording feels balanced enough to reuse across platforms.
If the shot is not right, reshoot now. Do not assume you can fix a bad composition later with editing. You usually cannot.
Step 6: Send the footage into your editing workflow
DualShot is the capture layer, not the full publishing system. Once you have the files, move them into the editor or workflow you already use.
Typical next steps:
- Trim the opening and closing seconds.
- Add platform-specific captions.
- Adjust the title or hook for each audience.
- Export with the right aspect ratio and destination.
- Schedule or post from the platform that fits the content.
That is where the app starts saving real time. You are no longer creating two separate shoots. You are adapting one strong capture into two deliverables.
Step 7: Build a repeatable system
The best use of DualShot is not one good video. It is a repeatable publishing rhythm.
If you are a solo creator, the habit might look like this:
- Batch record three clips in one session.
- Use the same framing rules every time.
- Keep a reusable caption template.
- Maintain a short list of CTAs you rotate by topic.
If you are a team, the system can be a little more formal:
- Define a shot checklist.
- Agree on framing standards.
- Reuse a shared editing template.
- Track which type of clip works best in each format.
The app becomes more valuable the less your team has to improvise.
Common mistakes to avoid
Here are the problems that show up most often when people first try a dual-output workflow:
- Framing too tight and losing flexibility later.
- Using lighting that changes too much during the take.
- Recording speech too fast, which makes edits harder.
- Adding too much visual clutter behind the subject.
- Waiting until the edit stage to decide what the video is for.
If you avoid those mistakes, the rest of the process gets much easier.
When to reshoot instead of editing harder
Sometimes a take should simply be done again.
Reshoot if:
- The subject is out of safe framing in one output.
- The audio is poor or inconsistent.
- The lighting shifts in a distracting way.
- The performance feels rushed or incomplete.
That is not wasted time. It is the cost of protecting the final output. A little discipline at capture time prevents a lot of cleanup later.
A simple daily workflow for creators
If you want a lightweight routine, try this:
- Write a single sentence summary of the video.
- Open DualShot and frame for both outputs.
- Record one clean take.
- Review the files immediately.
- Edit and publish the same day.
That routine works because it keeps the process short. The more steps you add before the first publish, the easier it is to stall.
Where the iPhone workflow fits best
DualShot is especially useful when your content is:
- Fast-moving.
- Repeated often.
- Repurposed across multiple channels.
- Recorded on a phone instead of a full studio setup.
That is the sweet spot for most modern creator workflows. You get enough quality to publish confidently without turning every clip into a production.
Final note and next step
If you want a recording app that helps you move faster on iPhone, the best next step is to test one real clip end to end. Choose a short video you would normally record twice, and see how the dual-output workflow changes your process.
Want to try it now?
Use DualShot on iPhone, record one clean take, and compare the vertical and horizontal versions before you publish.